
I absolutely love the look of shiplap. But it’s a very trendy look, and requires a lot of work. So here is my attempt at faux shiplap. I read about people trying a color pencil shiplap. So I decided to try.
The wall started as Mindful grey.
I painted the whole wall flat alabaster white.
I then marked every 6″ on the wall with a ruler.
Then used a level to get my lines straight.
You can see it was very very light with just the pencil. And I heard it will smudge.
So people suggested a sharpie. When I tried a sharpie it was way too thick and dark.
So I found a two pack of Silver sharpies and that was the magic key.
So I traced over the pencil with the silver sharpie with the level again.
I am extremely happy with my results.
Our patio is still under construction in these photos. I’ll update when it’s finished.
Chandelier Ceiling fan makeover see how i transformed my old ugly chandeliers.

 here is the before image. This room felt very dark. This used to be a window, and we just had the sliding glass door installed. The patio is getting ready for concrete.
The picture below is just with the pencil. The lines are super light.


This is a progress shot. You can see the level and the sharpie that I used. This picture shows you the difference between a pencil line, then a silver sharpie line.


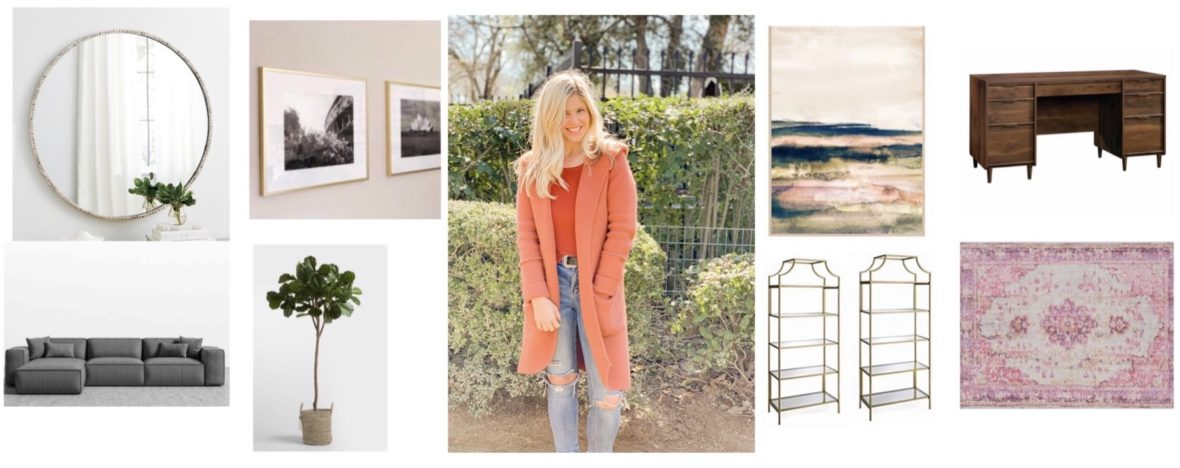
Use code NICOLE15 for 15% off

Here was before with just the window. Before the sliding glass door.

Can I ask if why you chose a silver sharpie over black? Do you think it would be just too much? Love how yours turned out – looks fantastic!
I unfortunately deleted a photo that showed how I tested the black sharpie. It was just way too harsh and dark because I have textured walls. Maybe I can find it again and add it to the post?